Purchasing new furniture can be a pricey and time-consuming feat. Between finding the right piece, having it delivered, and assembling it, it’s a days-long pursuit. This can be lessened by learning how to restore your existing furniture, however – particularly tables and surfaces.
If you have an old wooden coffee table, dining table, or end table lying around that you’re dying to replace, don’t be too hasty. Restoring your wood furniture can be a simple and rewarding process, and tables are one of the easiest items to restore. Not only can you give an old table a completely new look, but you will relish in the fruits of your labor every time you look at it.
Furthermore, restoring your old tables will save you plenty of money, as none of the tools you need for this process will cost nearly as much (in time and money) as buying a new piece of furniture.
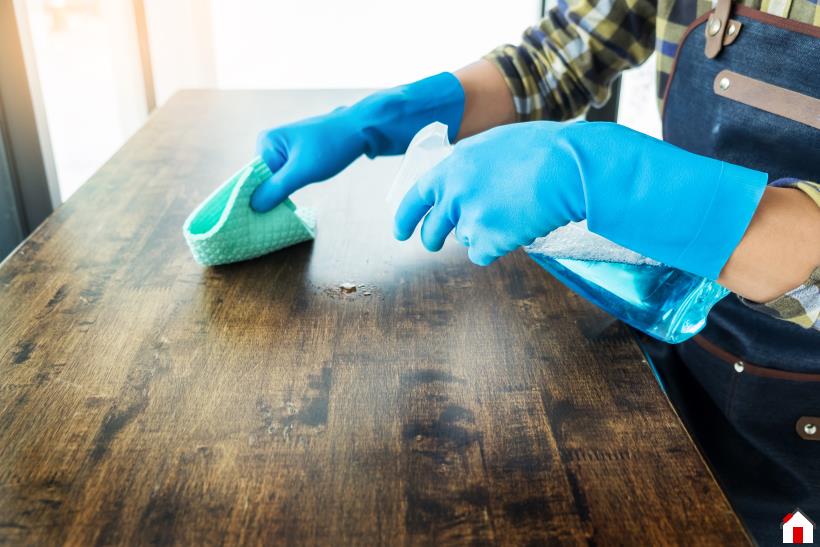
Step 1: Clean the table.
One of the first steps to getting your table back to its original luster is to give it a thorough cleaning. Sometimes, a sponge, warm water, and some dish soap is all you need to get your wood table clean. However, an oil-based wood cleaner may be the more effective choice for pieces that have seen a lot of wear-and-tear.
Use cotton and microfiber rags when cleaning your wood table to prevent scratching. Make sure it’s completely dry before moving on to the next step.
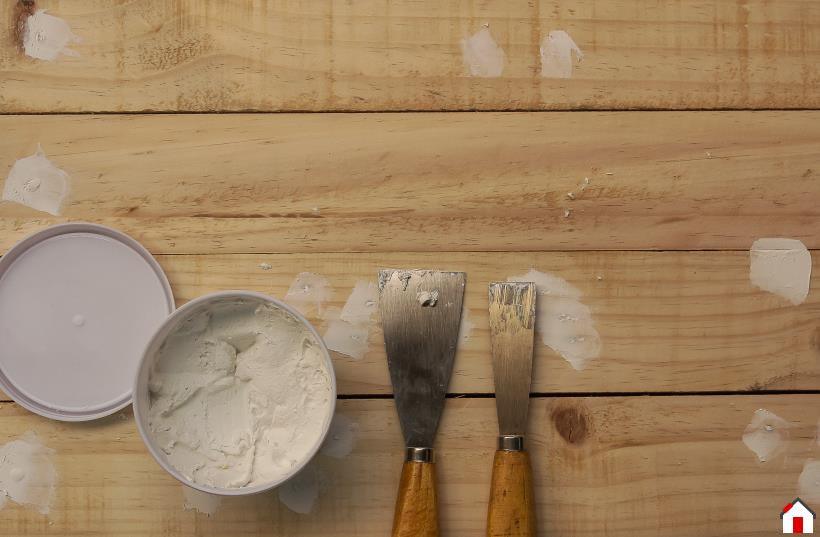
Step 2: Tend to the imperfections.
As with anything, wood tables see some weathering over the years. There are a number of flaws you may notice in the wood, and a number of ways to take care of them.
- Bleached wood: If your table has been sitting in direct sunlight, such as under a window, some of the wood may be bleached. Just apply a mahogany wood dye to make it all one color. Apply it with a paintbrush and let it sit.

- Scratches & cracks: Removing scratches and cracks is done through a process called reamalgamation. Apply a solvent, either denatured alcohol or lacquer, to the surface with a bristle brush in broad strokes. Let it dry, and then gently buff the area. You may need to repeat this a few times for deep cracks.
- Chipped wood: Broken off pieces of wood can easily be covered up with some epoxy putty. When hardened, it takes on the thickness of wood and blends right into the existing surface.
Step 3: Prep the surface.
Once the table is clean, you will need to strip the existing finish. Make sure you wear gloves while doing this, as chemical stripper can be a strong and damaging substance. Apply the chemical stripping agent liberally across the surface, avoiding the base of the table. Do so with a paintbrush.
Once the stripping agent has had about 30 minutes to sit, use a stripping tool to push (not scrape) off the coating. It should be look like a brown gunk sitting on the surface of your table.
If you’re looking to avoid the use of chemicals, sandpaper or a mechanical sander should be able to get the job done as well. Just make sure to follow the grain and wipe off the remaining dust afterward.
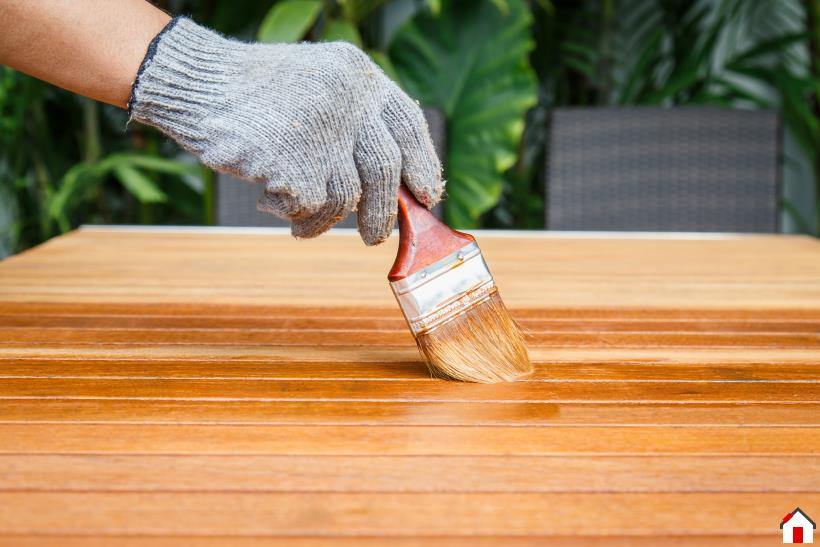
Step 4: Refinish the surface.
After all that prep, you’re finally ready to refinish the wood surface. This is done by applying a new coat of stain with a natural bristle brush or soft cloth. Make sure to let the coat dry overnight. If you don’t want to alter the color, some furniture oil will also do the trick.
It’s best to stain the entire surface. If you do a spot stain treatment on a table with cracks or bruises, it will look off. If you’re not trying to alter the color, then simple furniture oil (such as teak oil) should do the trick of getting it that nice gloss and sheen.
Step 5: Consider a new table base.
You’ve restored the tabletop to like-new condition, but what about the rest? Rickety wooden table legs can rarely be brought back to life, at least not in a way that won’t be painstakingly difficult. Replacing your table’s base can give it an entire new look and luster.
Unscrew existing table legs and use paint remover to loosen legs that have been glued in. From there, shop around for some brand new table bases. This gives you an opportunity to play around with the style of your table. Vintage table bases with a wood surface will give your table an antique look, while a chrome or stainless steel one will modernize it.
Simply screw the new table base into the bottom of the wood surface, and you’re in business. Once you get the hang of it, restoring your wooden furniture can become a gratifying hobby in which you can exercise your handiness and your creativity.

Pictured above: Table bases from Tablebases.com.
You might also like to read:
• 5 Ideas On How To Renovate Your Old Sofa
• Oak vs Pine for Furniture
• 5 Space-Saving Furniture Must-Haves for Studios & Small Homes
Category: